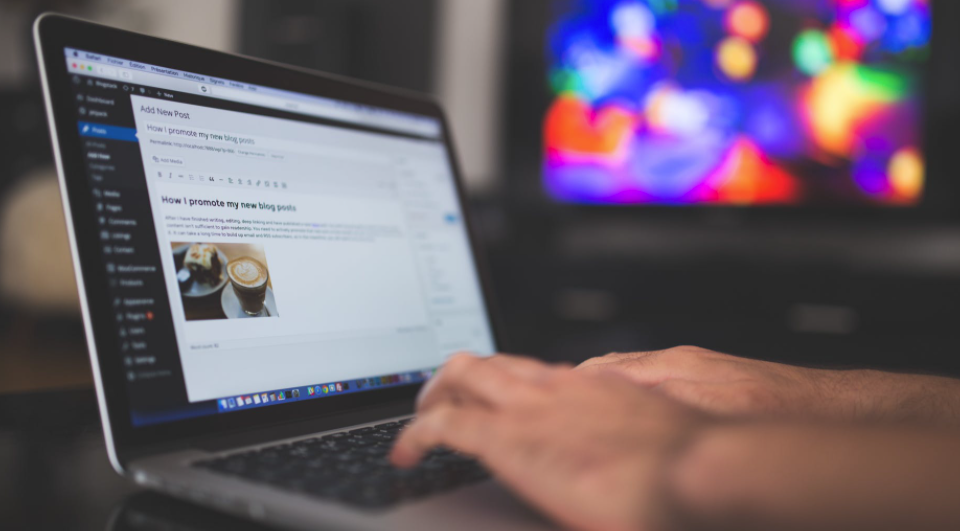
WordPress is the go-to CMS choice for most websites in the world. More than a third of all the websites in the world use WordPress to build websites.
For many businesses for whom hiring a web developer is an expensive proposition, WordPress is a great solution. It is highly customizable and involves a short learning curve when compared to traditional web development.
The ease of web development has shifted the goal post to a certain extent. Bloggers are looking at other mediums to promote their content.
The most exclusive medium in this regard is a mobile app.
Bloggers are not blind to the rising tide of mobile apps. App usage has grown many times in the last few years.
There will come a time when content-rich blogs are swept under the tide of nifty mobile apps.
It is thus vital for bloggers to expand their reach and start an app for their blog. The following steps highlight the steps you must take to create a mobile app that matches your WordPress blog.
Step one: Selecting a mobile app builder
Most WordPress bloggers lack the programming skills necessary to create an app. This is one of the main reasons bloggers avoid app development altogether.
Codeless mobile app builders have helped bridge the gap between non-coders and app development.
Using an app creator online, you can make your own app even if you don’t have any background in coding. These tools are essentially no-code environments where you can create apps without worrying about programming.
There are a number of app builders you can use to build your own app.
In this article, we will use AppMySite to explain the process of creating a mobile app that truly reflects your blog. You can also checkout the YouTube tutorial below to get a visual tour of the whole process:
Step two: Personalize your app appearance
After choosing AppMySite, you must create an account on it in order to get started.
Once you create an account, it is time to set up your app appearance.
There are a number of features you can choose from to personalize your app design. Here are a few things you can do to create a pristine app appearance:
- Design an app logo that sets you apart from other competitors in the space. You can enter your logo text and color or upload an icon design of your own.
- Create a launch screen (also referred to as splash screen) that matches your overall app and brand ethos. Enter the color and text you want to show or upload a logo and background design. You can visit the premium image library on AppMySite to choose a stunning background image.
- Streamline user onboarding by designing smooth login and signup screens. Again choose a color and text or upload your logo and background designs. You can also set the right color scheme for the fields on the screens.
- Set a color theme that fits perfectly with your overall design idea. You can select from many different button and header appearance options.
- Build an engaging home screen that simplifies navigation and enhances user experience. Design banners, manage categories, arrange sections, choose section colors, manage CMS pages, and more to make an idyllic app home screen.
You can preview every appearance choice you make on the live screen to the right. Keep working on your appearance until you come up with the right design.
Step two: Establish website-app connectivity
Our main objective is to create an app that reflects your WordPress blog accurately. To that effect, this step is the most crucial.
You will essentially connect your WordPress blog with your mobile app in this step. Once the process is complete, all your blog posts, categories, and other resources will be pushed to your app automatically.
Follow the steps below to connect your blog and app:
- Download and activate the AppMySite WordPress plugin on your blog.
- Now, go to Connectivity on your AppMySite account and select Install Plugin.
- Click on Verify.
- If the process is successful, you will soon find yourself in the App Preview section.
- If there are any issues, go to Troubleshooting and identify the issues that are causing problems to your connection.
This step is essential in the process of building a mobile app that is a true reflection of your blog.
Step four: Test app and download
Next, go to the App Preview section and start analyzing how your app looks and works.
You will find two emulators in this section: one for Android and the other for iOS. Select a device and click on the emulator screen to start previewing your app.
Remember to move your cursor along the emulator screen as you would use a mobile device.
You can leverage the screenshot and restart buttons to improve your ability to spot and manage areas where you can improve.
Alternatively, you can download the AppMySite demo app to test your app in a typical smartphone environment.
Once you are happy with your app, it is time to download it.
For Android, you have the option to generate both APK and AAB builds. Complete your app appearance and connect your website and app before generating an app build.
For iOS, you have to first submit a whole set of certificates to start build generation. Again, you must complete your app design and connect website & app before generating an IPA build.
Download your app builds once they are generated. You can then proceed to submitting your app to Google Play and App Store.
Before submission, remember to go over the guidelines of both Google Play and App Store. If your app does not meet certain criteria, it will be rejected.
In conclusion
Bloggers can get started with app development with the help of a free app builder like AppMySite. Furthermore, they can retain the core essence of their blog when creating an app.
The process to create an app is not difficult when app builders come into the picture. Bloggers should seriously consider launching their own app and joining the mobile app movement.